
How I designed the logo for my own studio
12 Jan 2017I’m far from a master of Adobe Illustrator (or Sketch), let alone a logo designer. But if I just copy or buy a logo from somewhere else for the studio I own (even virtually), that’ll be totally lame.
For designing a logo, it’s common to find interesting patterns from outside resources, such as photos, which could be a great source of inspiration. The other day I ran into this photo by Laura Tidwell, a Flickr friend of mine:

Despite faving it immediately because of the smooth gradient color and stunning reflection, I also found that the far-side little brother might be a good symbol for the logo because he seemed so relaxed yet dynamic. After doing some image tracing in Illustrator, I did, eventually, get a quite impressive output.


From a low fidelity photo to 16 color, 6 color and 3 color image in just a few clicks, it already looks so smooth! Finally it should come with a b&w version, of course, since I just want this to be a two-color result.


After reducing the threshold value which determines how much of the image results in white and how much results in black when tracing as black and white, I came up with the image above (right). Then I used the Eraser tool to remove the unnecessary reflection and the Pen tool to make the vector even smoother, followed by drawing a circle to hold the shape - done! Now I just need to fill in some neutral colors as well as add some text, which I did:
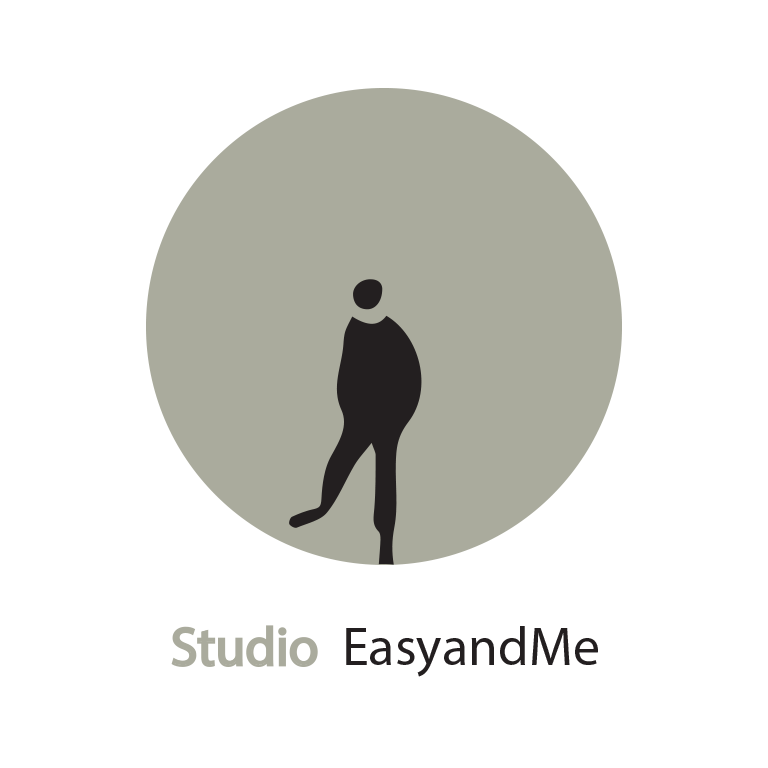
If you like, you can further animate your logo like I did in After Effects, which really works well with Illustrator.

This way, I’ve created a completely original logo for myself!